Introduction to BME: Getting Started
Course Outlines
- Collection of different disciplines in Biomedical Engineering
- Building the big picture
- Disciplines:
- Embedded systems and Instrumentations
- Biomechanics and Rehabilitation
- Bio-signal Processing
- Medical imaging and visualization
- Bioinformatics
- Hospital information system
- Virtual Reality in BME
Microcontroller and Embedded systems
Introduction
- Small computer on a single IC (integrated circuit)
- System on chip (SOC)
- CPU
- Memory
- Peripherals interfacing with environment
- Found in all electronic devices
Arduino
- Open source easy to use electronics Hardware and Software platform
- Arduino Uno Board

- Atmega328 microcontroller

- 14 I/O Digital pins (6 PWM)
- 6 Input pins (Analog)
- Clock speed 16 MHz
- Flash memory 32 KB
- USB port for programming
- Atmega328 microcontroller
- Other boards (Mega , Nano, Leonardo)
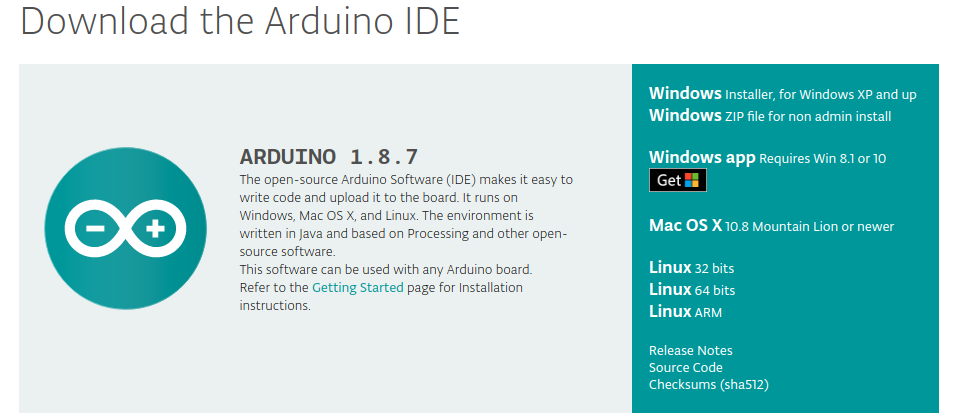
Arduino IDE
- Installing IDE link
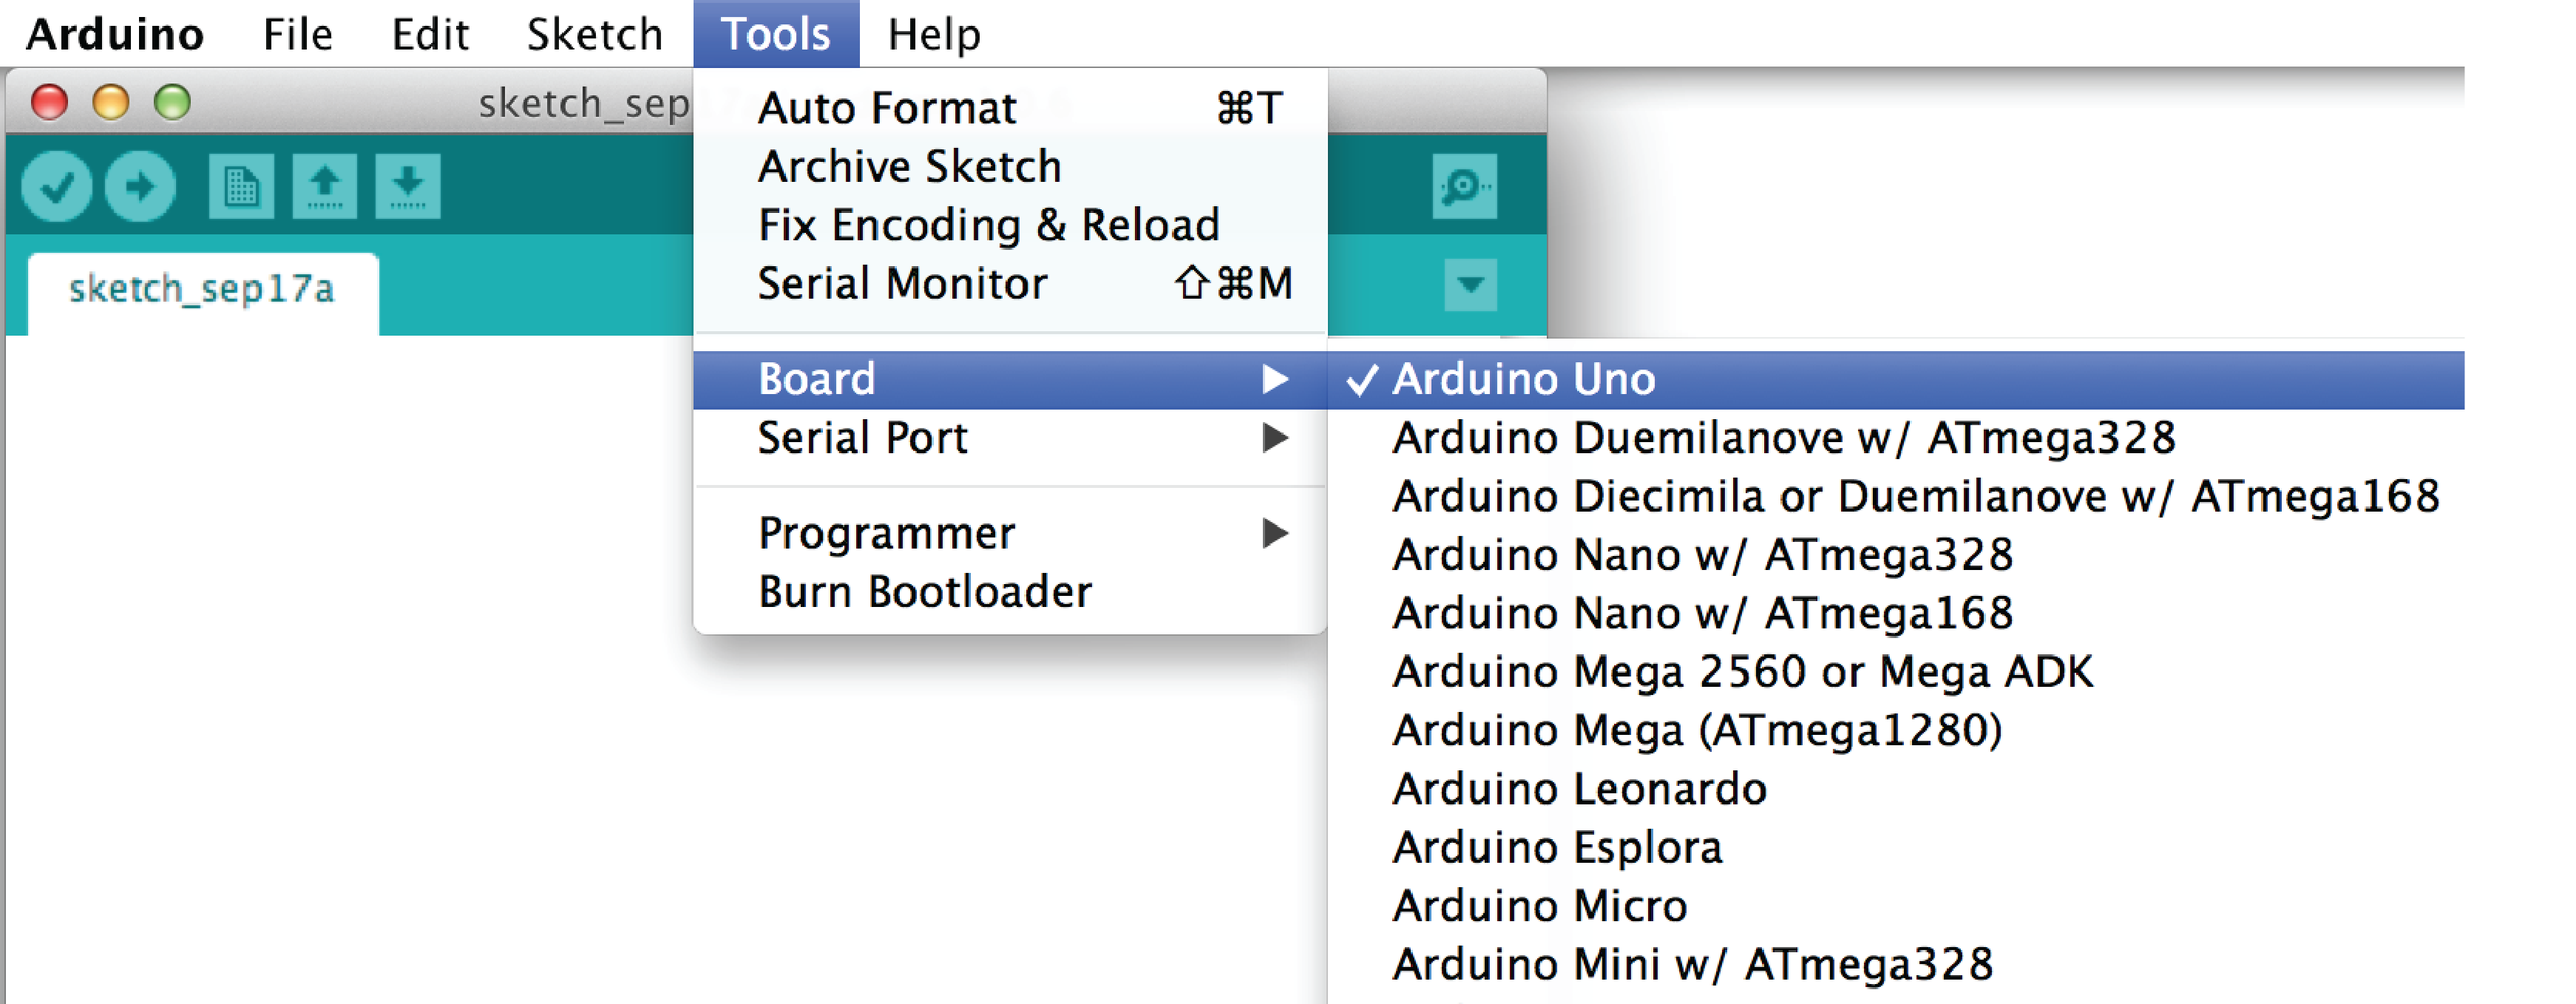
- Selecting Board
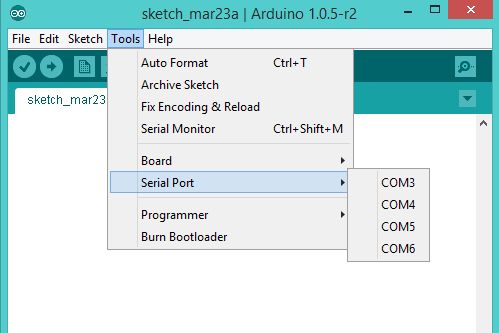
- Identifying Serial port
- Blinking Example
int ledPin = 13; // LED connected to digital pin 13

// The setup() method runs once, when the sketch starts
void setup()
{
pinMode(ledPin, OUTPUT); // initialize the digital pin as an output
}
// the loop() method runs over and over again,
void loop()
{
digitalWrite(ledPin, HIGH); // turn the LED on
delay(1000); // wait a second
digitalWrite(ledPin, LOW); // turn the LED off
delay(1000); // wait a second
}
Sketch structure
- setup function
- Executed one time
-
For configuration (pins, serial communication)
- loop function
- Operating system
- Execute forever
Variables
- Variables in C/C++ have different data types
- For example byte is 8 bit variable with value from 0 to 255
- Other data types int, unsigned int, float , char, …. etc
int myVariable; //Define a variable myVariable with type int
- array is a group of values
int a[10]; //Array of 10 integers
Constants
- Predefined variables
- Example HIGH, LOW, INPUT, OUTPUT
Functions
- subroutine that encapsulate some calculations
- Builtin functions
pinMode(pin, mode);
digitalWrite(pin);
analogRead(pin);
delay(ms);
- User defined functions
- [type] [name](parameters)
  int add(int x, int y)
  {
      int z = x + y;
      return z;
  }
Control structures
- Branching due to a condition
- if
- if, else
- switch , case
example
/* Pushbutton sketch a switch connected to pin 2 lights the LED on pin 13 */ const int ledPin = 13; // choose the pin for the LED const int inputPin = 2; // choose the input pin (for a pushbutton) void setup() { pinMode(ledPin, OUTPUT); // declare LED pin as output pinMode(inputPin, INPUT); // declare pushbutton pin as input } void loop(){ int val = digitalRead(inputPin); // read input value if (val == HIGH) // check if the input is HIGH { // do this if val is HIGH digitalWrite(ledPin, HIGH); // turn LED on if switch is pressed } else { // else do this if val is not HIGH digitalWrite(ledPin, LOW); // turn LED off } } - Looping
- for loop : for defined number of Instrumentations
- while loop : based on condition
example
/*
ForLoop sketch
demonstrates for loop
*/
void setup() {
Serial.begin(9600);}
void loop(){
Serial.println("for(int i=0; i < 4; i++)");
for(int i=0; i < 4; i++)
{
Serial.println(i);
}
}
- others
- break : skip remaining iterations
- continue : skip current iteration
- return : Back from a function
- void : nothing
Serial communication
- Communication between arduino and computer or any other devices
- Tx for transmission and Rx for receiving
- Functions :
- Serial.begin(speed)
- Serial.print() , Serial.println()
- int Serial.read()
- int Serial.available()
/*
* SwitchCase sketch
* example showing switch statement by switching on chars from the serial port
*
* sending the character 1 blinks the LED once, sending 2 blinks twice
* sending + turns the LED on, sending - turns it off
* any other character prints a message to the Serial Monitor
*/
const int ledPin = 13; // the pin the LED is connected to
void setup()
{
Serial.begin(9600); // Initialize serial port to send and receive at 9600 baud
pinMode(13, OUTPUT);
}
void loop()
{
if ( Serial.available()) // Check to see if at least one character is available
{
char ch = Serial.read();
switch(ch)
{
case '1':
blink();
break;
case '2':
digitalWrite(ledPin,HIGH);
break;
case '3':
digitalWrite(ledPin,LOW);
break;
default :
Serial.print(ch);
Serial.println(" was received but not expected");
break;
}
}
}
void blink()
{
digitalWrite(ledPin,HIGH);
delay(500);
digitalWrite(ledPin,LOW);
delay(500);
}
Git Version Control System
![]()
Introduction
- Backup strategy from disk crash
- Archive all work
- Collaboration and team work.
- Version control system
- Access historical editions
- Recover all changes
- Know who did that when.
- Linus Travolds established git version control system
- Parallel, independent and simultaneous development
- Centralized repository server
- Branching and easy merging
- Other version control systems : Bitkeeper, svn , murcurial
Getting started
- Installation : Available on windows, linux and mac OS.
- Download and install here
- Basic Cycle
- Create / Clone your repository
- Add files
- Commit changes
- Update your local version
- Publish your work
Configuration
git config --global user.name "You Name"
git config --global user.email "you Email"
Git cycle
- Create a new repository
git init
- Or Clone existed repository
git clone repoLink
- Add your files
git add file - Show status
git status - Commit your changes
git commit -m "Say a message" - Update your local repository
git pull origin master - Publish your work
git push origin master - Show changes
git log
git show
Github
 Hosting service for Git version control system.
omputer Graphics
Interesting applica
Hosting service for Git version control system.
omputer Graphics
Interesting applica